Writing Markup with JSX
JSX is a syntax extension for JavaScript that lets you write HTML-like markup inside a JavaScript file. Although there are other ways to write components, most React developers prefer the conciseness of JSX, and most codebases use it.
You will learn
- Why React mixes markup with rendering logic
- How JSX is different from HTML
- How to display information with JSX
JSX: Putting markup into JavaScript
The Web has been built on HTML, CSS, and JavaScript. For many years, web developers kept content in HTML, design in CSS, and logic in JavaScript—often in separate files! Content was marked up inside HTML while the page’s logic lived separately in JavaScript:
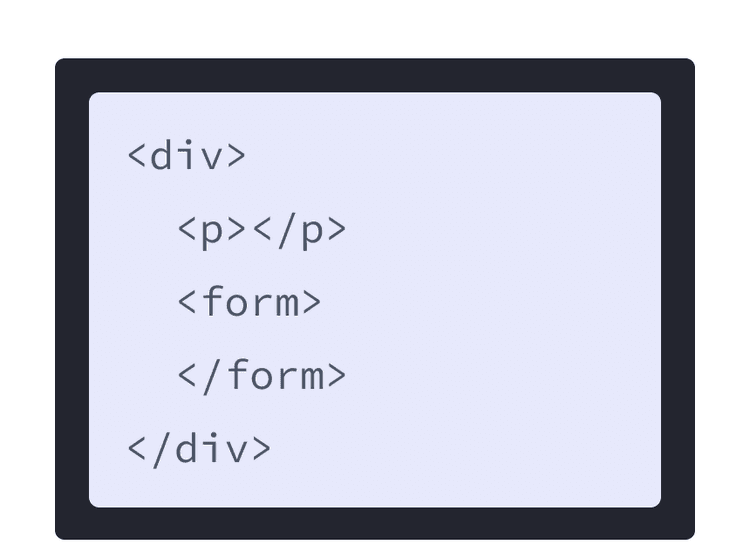
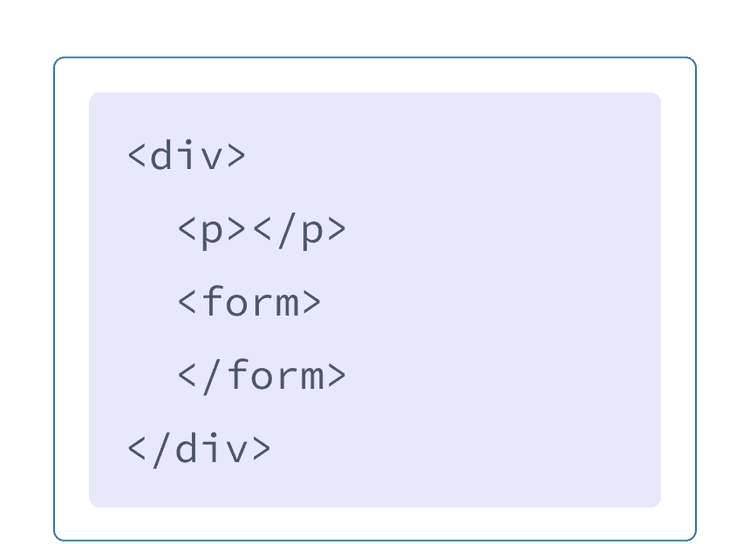
HTML
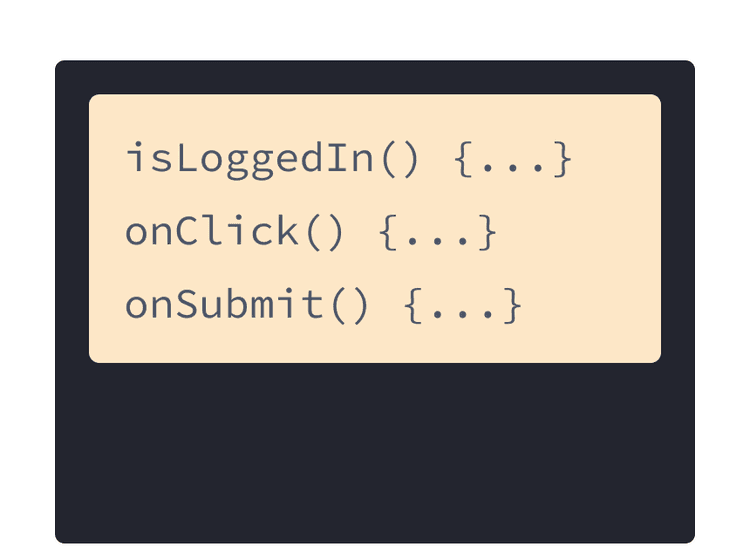
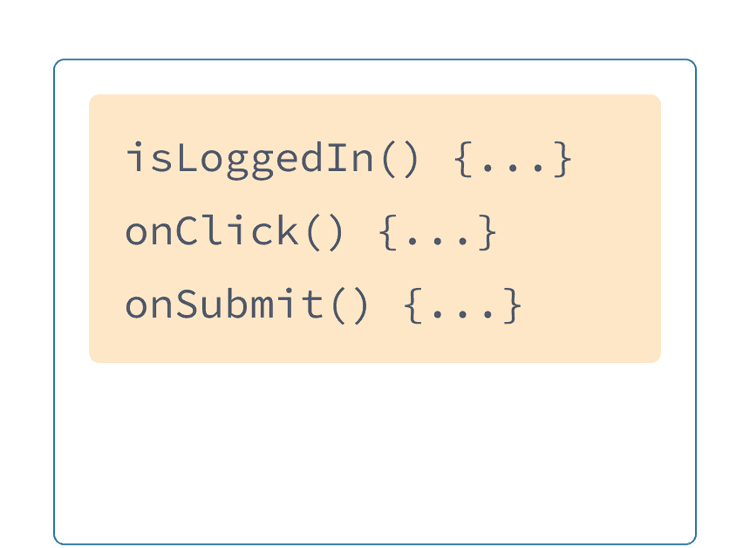
JavaScript
But as the Web became more interactive, logic increasingly determined content. JavaScript was in charge of the HTML! This is why in React, rendering logic and markup live together in the same place—components.
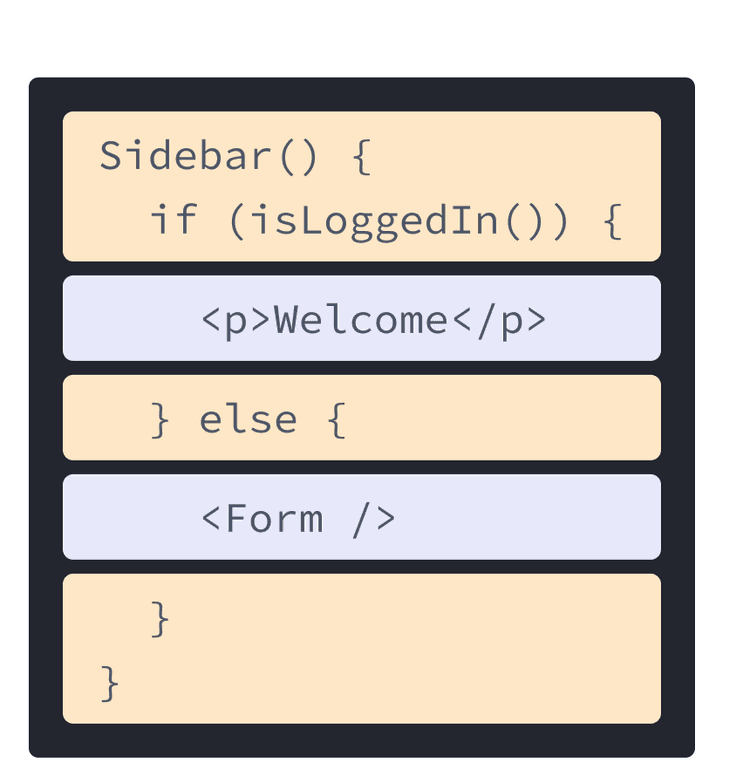
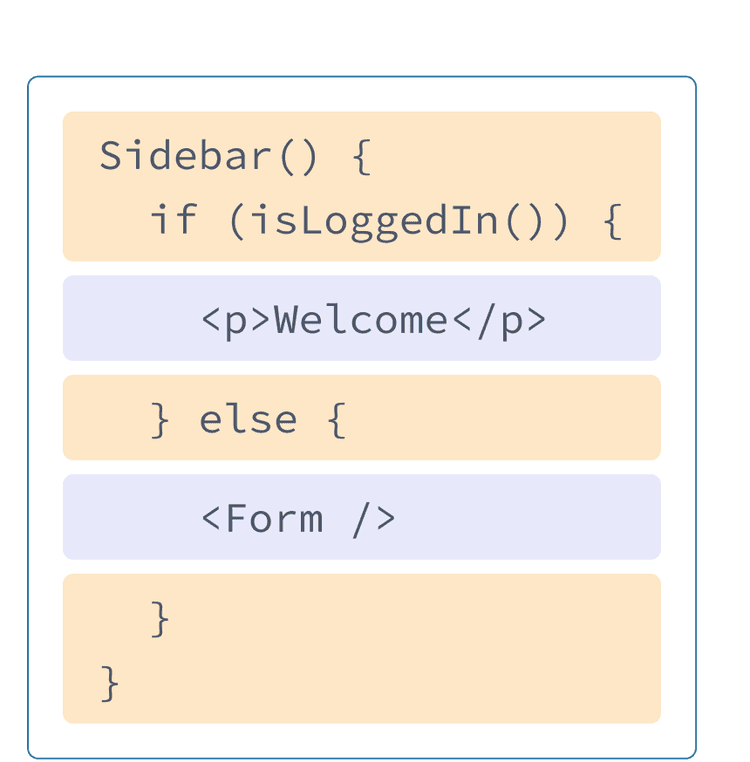
Sidebar.js React component
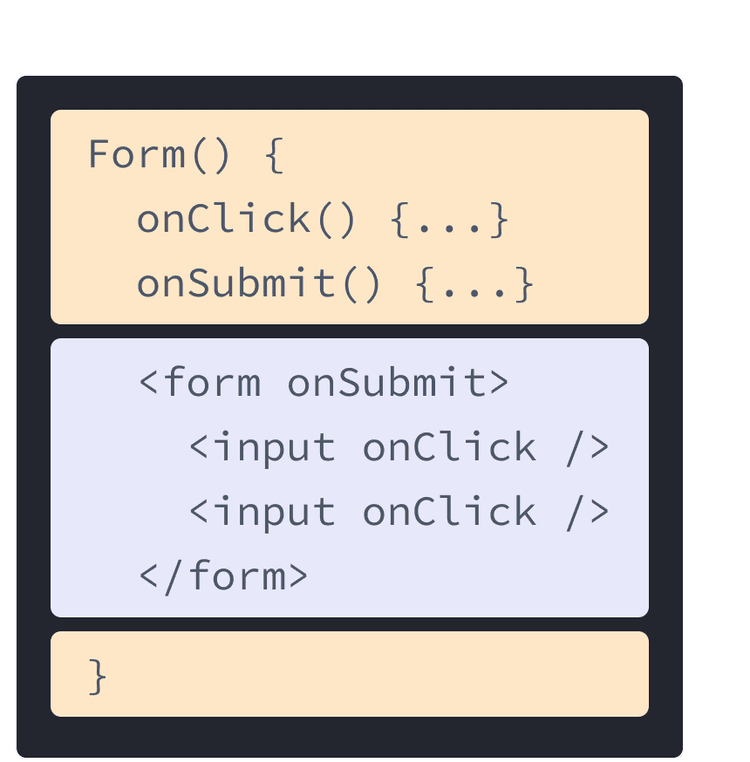
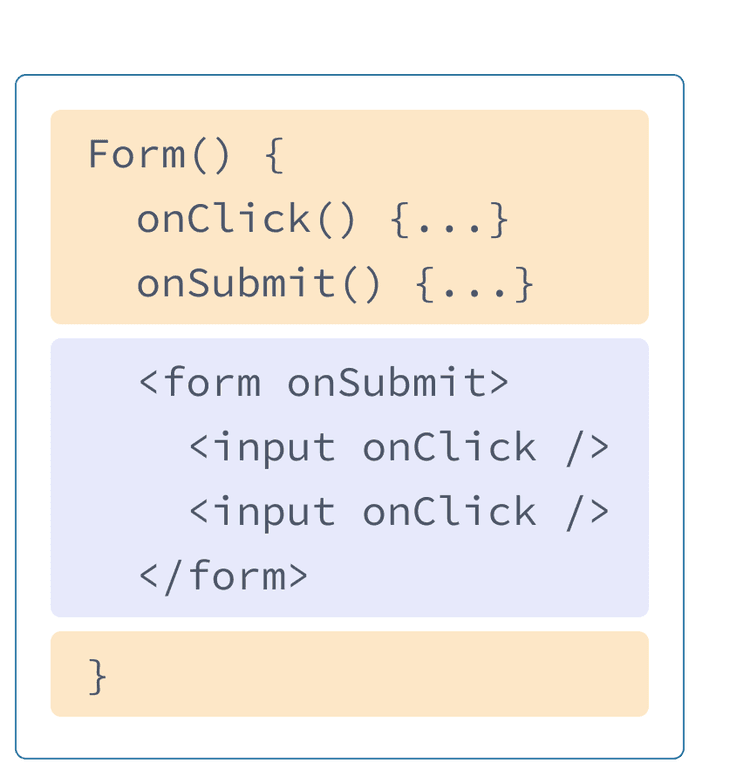
Form.js React component
Keeping a button’s rendering logic and markup together ensures that they stay in sync with each other on every edit. Conversely, details that are unrelated, such as the button’s markup and a sidebar’s markup, are isolated from each other, making it safer to change either of them on their own.
Each React component is a JavaScript function that may contain some markup that React renders into the browser. React components use a syntax extension called JSX to represent that markup. JSX looks a lot like HTML, but it is a bit stricter and can display dynamic information. The best way to understand this is to convert some HTML markup to JSX markup.
Converting HTML to JSX
Suppose that you have some (perfectly valid) HTML:
<h1>Hedy Lamarr's Todos</h1>
<img
  src="https://i.imgur.com/yXOvdOSs.jpg"
  alt="Hedy Lamarr"
  class="photo"
>
<ul>
    <li>Invent new traffic lights
    <li>Rehearse a movie scene
    <li>Improve the spectrum technology
</ul>
And you want to put it into your component:
export default function TodoList() {
  return (
    // ???
  )
}
If you copy and paste it as is, it will not work:
export default function TodoList() {
  return (
    // This doesn't quite work!
    <h1>Hedy Lamarr's Todos</h1>
    <img
      src="https://i.imgur.com/yXOvdOSs.jpg"
      alt="Hedy Lamarr"
      class="photo"
    >
    <ul>
      <li>Invent new traffic lights
      <li>Rehearse a movie scene
      <li>Improve the spectrum technology
    </ul>
This is because JSX is stricter and has a few more rules than HTML! If you read the error messages above, they’ll guide you to fix the markup, or you can follow the guide below.
The Rules of JSX
1. Return a single root element
To return multiple elements from a component, wrap them with a single parent tag.
For example, you can use a <div>:
<div>
  <h1>Hedy Lamarr's Todos</h1>
  <img
    src="https://i.imgur.com/yXOvdOSs.jpg"
    alt="Hedy Lamarr"
    class="photo"
  >
  <ul>
    ...
  </ul>
</div>
If you don’t want to add an extra <div> to your markup, you can write <> and </> instead:
<>
  <h1>Hedy Lamarr's Todos</h1>
  <img
    src="https://i.imgur.com/yXOvdOSs.jpg"
    alt="Hedy Lamarr"
    class="photo"
  >
  <ul>
    ...
  </ul>
</>
This empty tag is called a Fragment. Fragments let you group things without leaving any trace in the browser HTML tree.
Deep Dive
JSX looks like HTML, but under the hood it is transformed into plain JavaScript objects. You can’t return two objects from a function without wrapping them into an array. This explains why you also can’t return two JSX tags without wrapping them into another tag or a Fragment.
2. Close all the tags
JSX requires tags to be explicitly closed: self-closing tags like <img> must become <img />, and wrapping tags like <li>oranges must be written as <li>oranges</li>.
This is how Hedy Lamarr’s image and list items look closed:
<>
  <img
    src="https://i.imgur.com/yXOvdOSs.jpg"
    alt="Hedy Lamarr"
    class="photo"
   />
  <ul>
    <li>Invent new traffic lights</li>
    <li>Rehearse a movie scene</li>
    <li>Improve the spectrum technology</li>
  </ul>
</>
3. camelCase all most of the things!
JSX turns into JavaScript and attributes written in JSX become keys of JavaScript objects. In your own components, you will often want to read those attributes into variables. But JavaScript has limitations on variable names. For example, their names can’t contain dashes or be reserved words like class.
This is why, in React, many HTML and SVG attributes are written in camelCase. For example, instead of stroke-width you use strokeWidth. Since class is a reserved word, in React you write className instead, named after the corresponding DOM property:
<img
  src="https://i.imgur.com/yXOvdOSs.jpg"
  alt="Hedy Lamarr"
  className="photo"
/>
You can find all these attributes in the list of DOM component props. If you get one wrong, don’t worry—React will print a message with a possible correction to the browser console.
Pro-tip: Use a JSX Converter
Converting all these attributes in existing markup can be tedious! We recommend using a converter to translate your existing HTML and SVG to JSX. Converters are very useful in practice, but it’s still worth understanding what is going on so that you can comfortably write JSX on your own.
Here is your final result:
export default function TodoList() {
  return (
    <>
      <h1>Hedy Lamarr's Todos</h1>
      <img
        src="https://i.imgur.com/yXOvdOSs.jpg"
        alt="Hedy Lamarr"
        className="photo"
      />
      <ul>
        <li>Invent new traffic lights</li>
        <li>Rehearse a movie scene</li>
        <li>Improve the spectrum technology</li>
      </ul>
    </>
  );
}
Recap
Now you know why JSX exists and how to use it in components:
- React components group rendering logic together with markup because they are related.
- JSX is similar to HTML, with a few differences. You can use a converter if you need to.
- Error messages will often point you in the right direction to fixing your markup.
Challenge 1 of 1: Convert some HTML to JSX
This HTML was pasted into a component, but it’s not valid JSX. Fix it:
export default function Bio() {
  return (
    <div class="intro">
      <h1>Welcome to my website!</h1>
    </div>
    <p class="summary">
      You can find my thoughts here.
      <br><br>
      <b>And <i>pictures</b></i> of scientists!
    </p>
  );
}
Whether to do it by hand or using the converter is up to you!